Create a Simulated Sensor
Create a Simulated Sensor
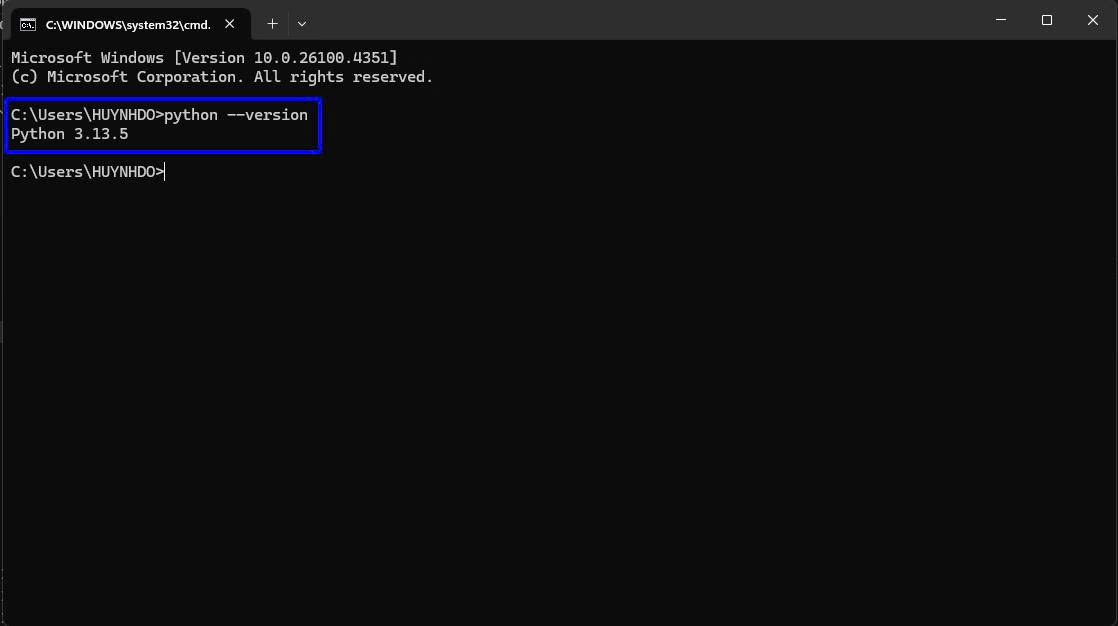
- Download Python
- Install the downloaded .exe file.
- Open terminal and enter the command: python –version
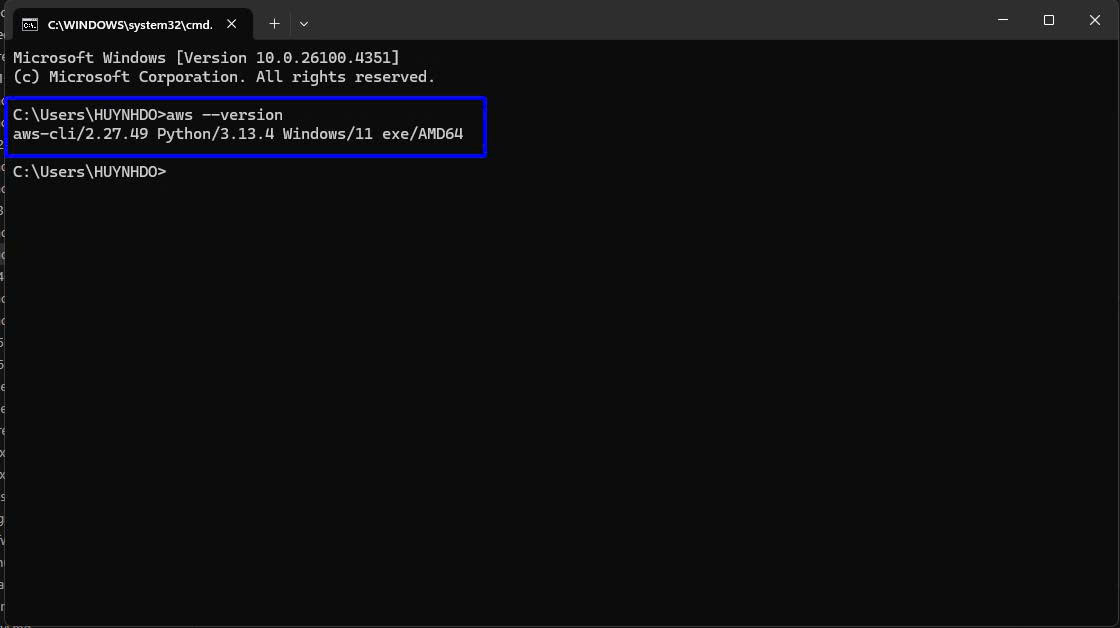
- Download AWS Command Line Interface
- Run the .msi installation file.
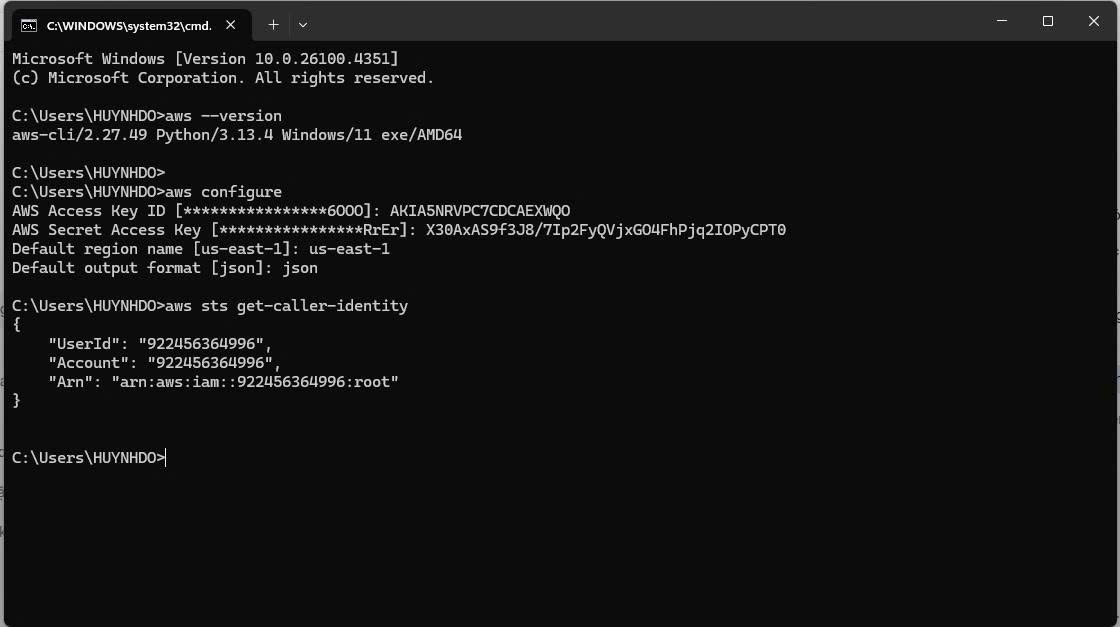
- Check with the command: aws –version
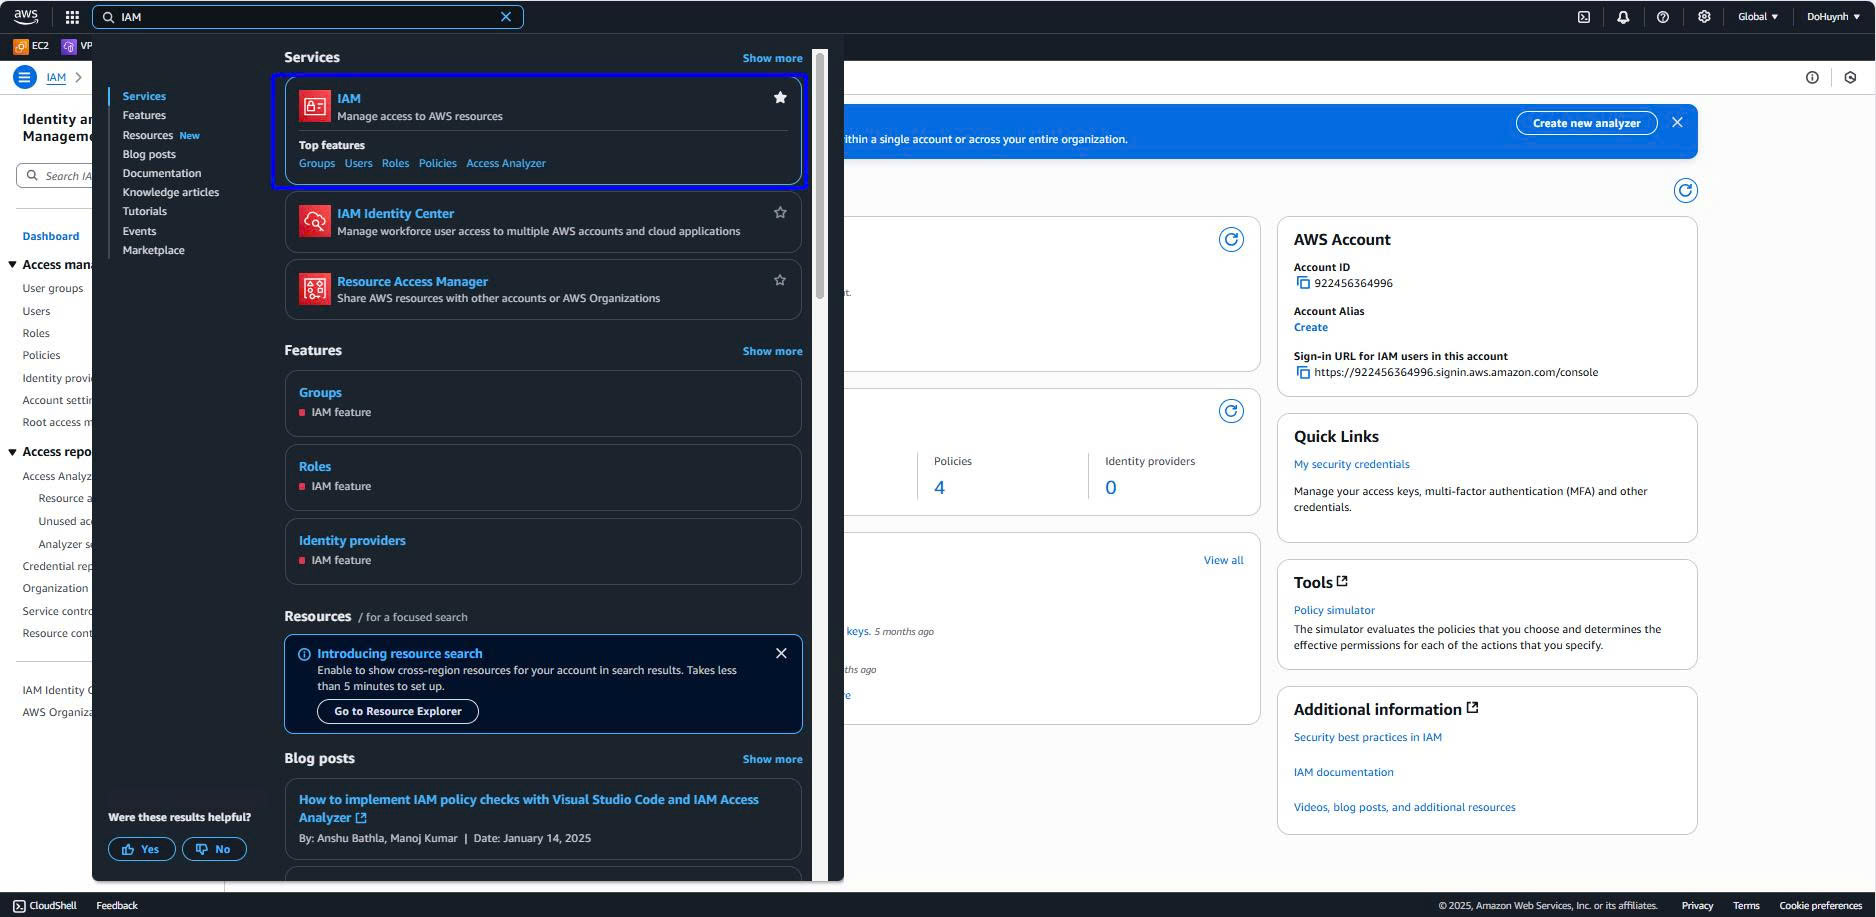
- AWS Account Configuration
- Go to the AWS Management Console, then to the IAM service
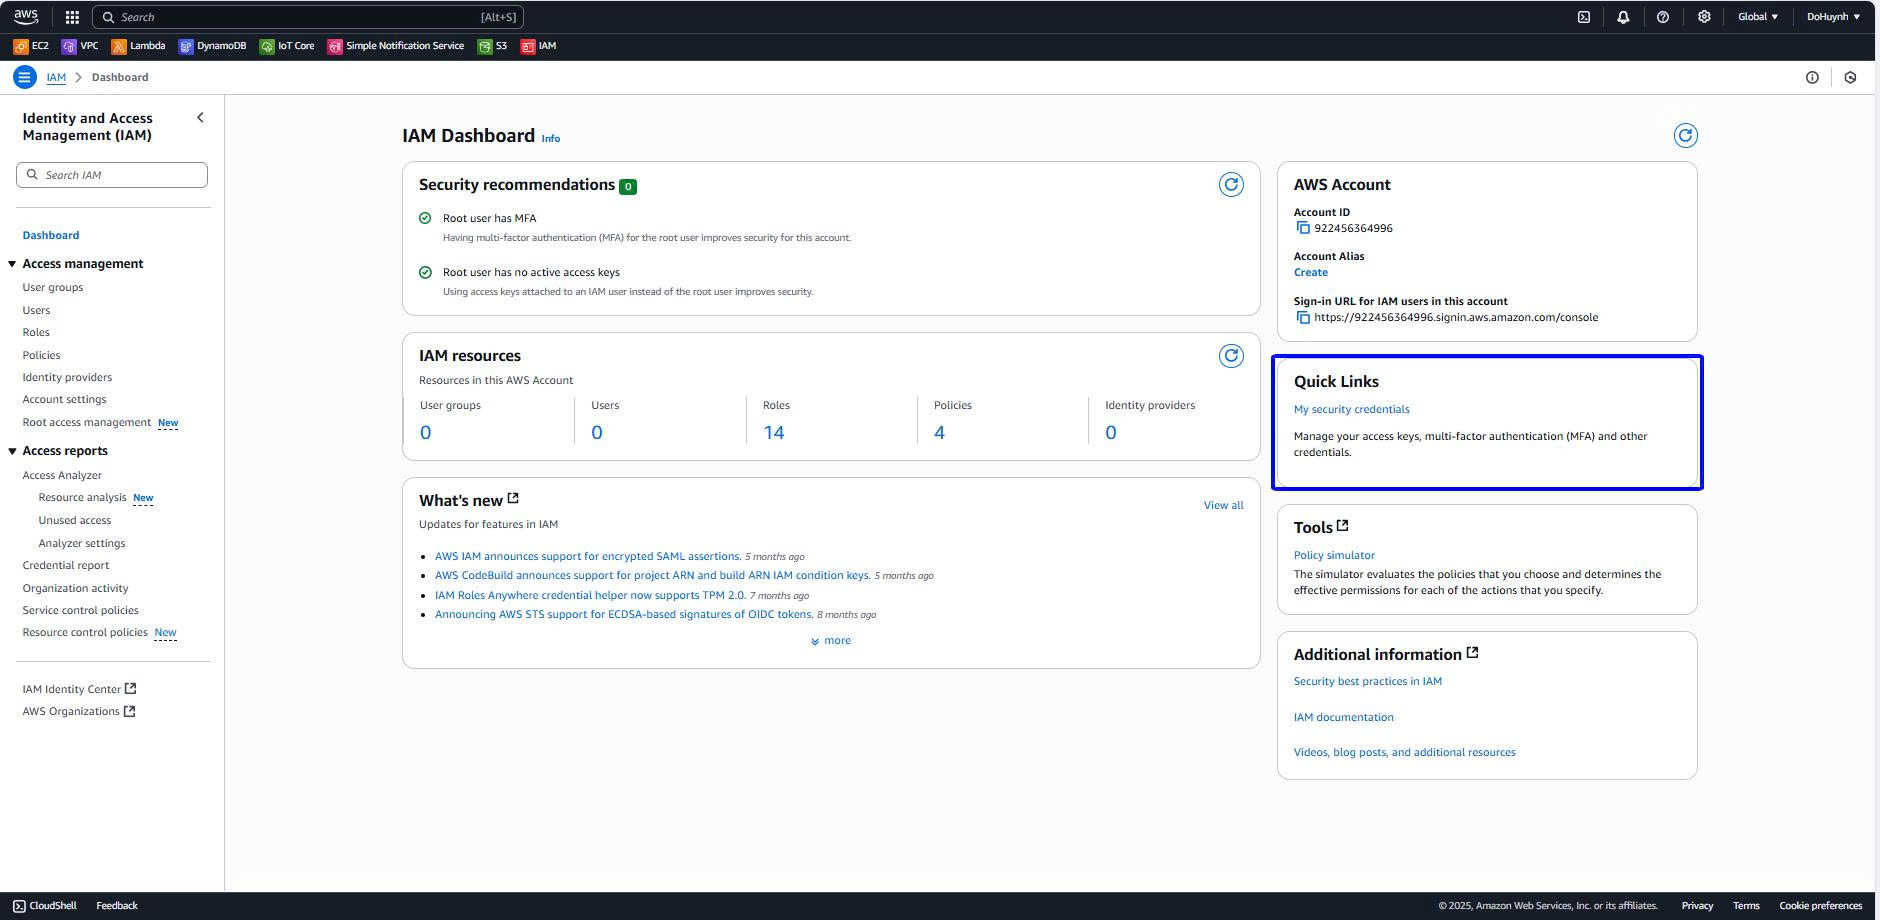
- Click My security credentials
- When the My security credentials page appears, click Create access key.
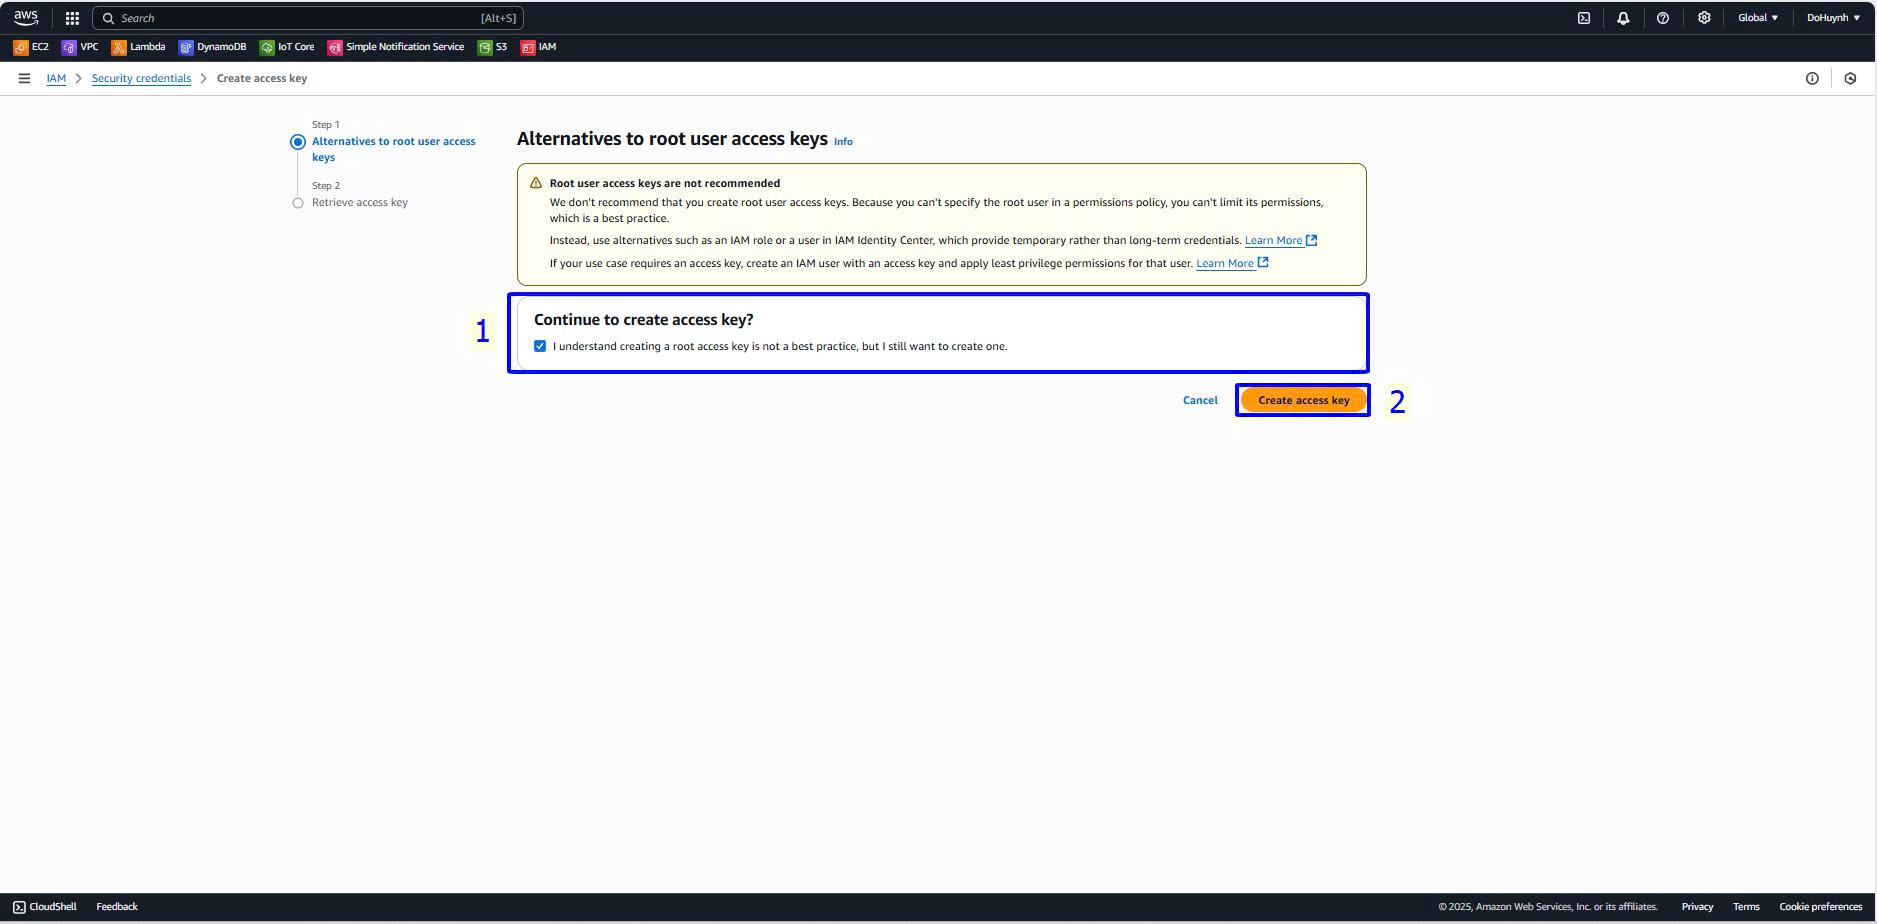
- When the Create access key page appears:
- Check the box I understand creating a root access key is not a best practice, but I still want to create one
- Click Create access key.
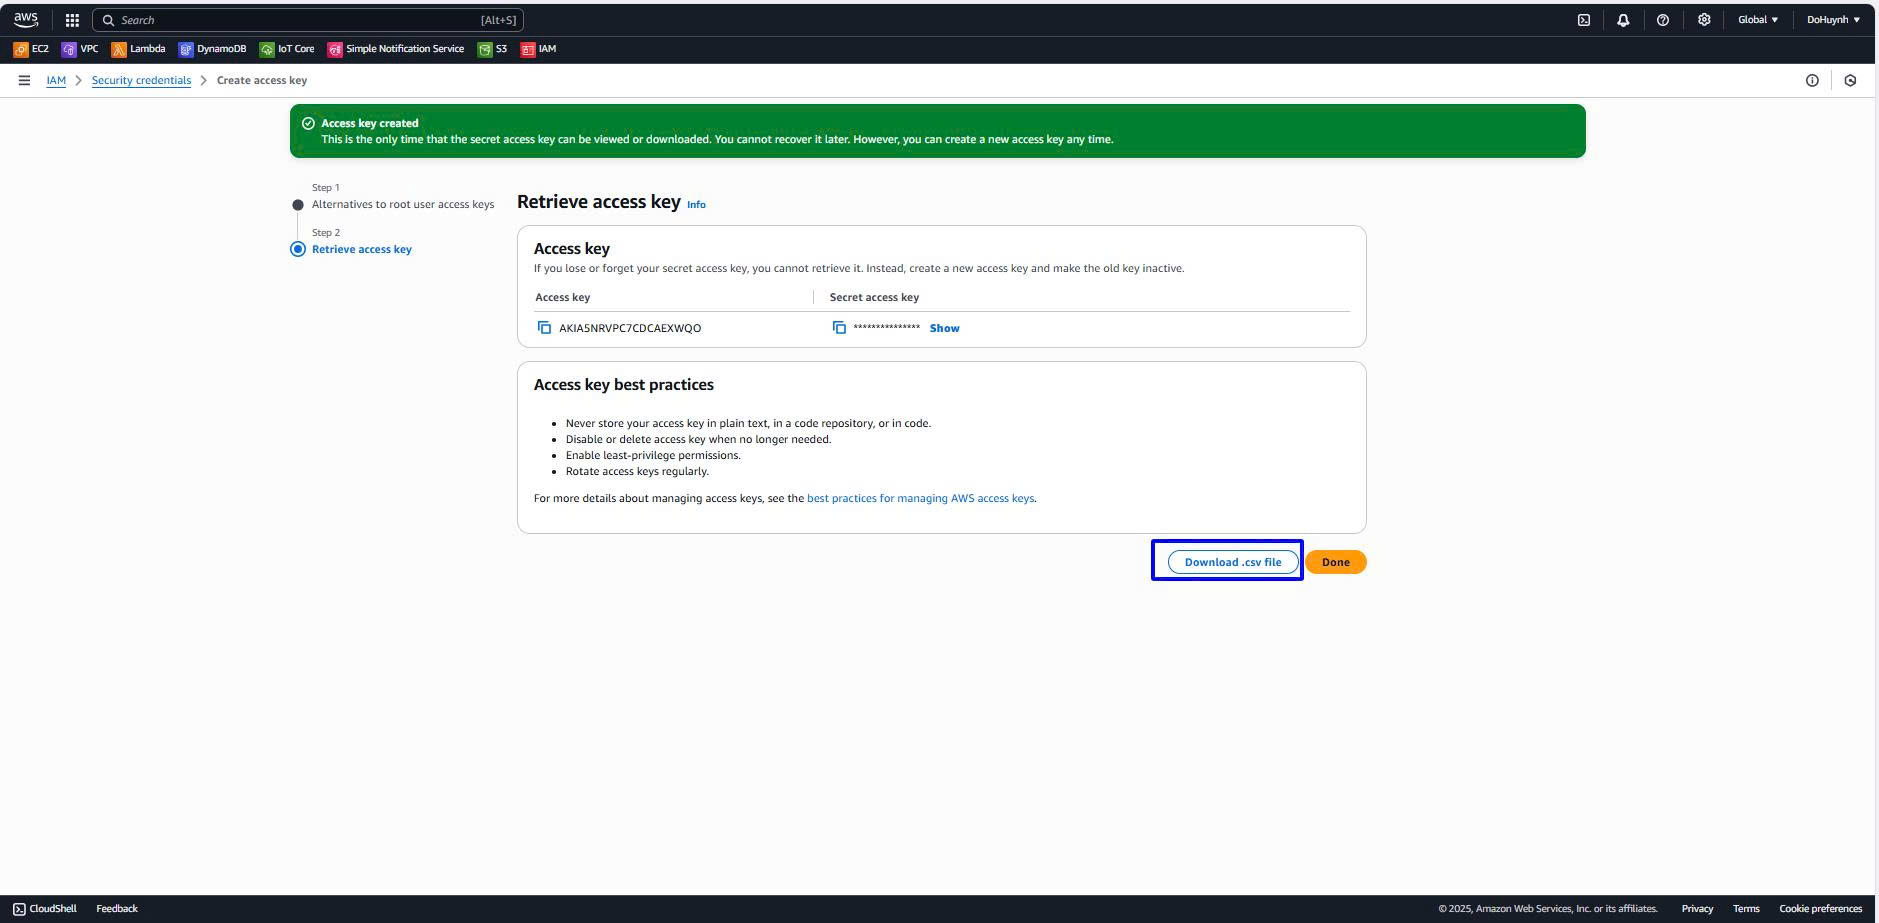
- Download the .csv file to your machine.
- Open the terminal and run the command aws configure:
- Enter the Access Key and Secret Key from the downloaded .csv file
- Region: us-east-1
- Output format: json
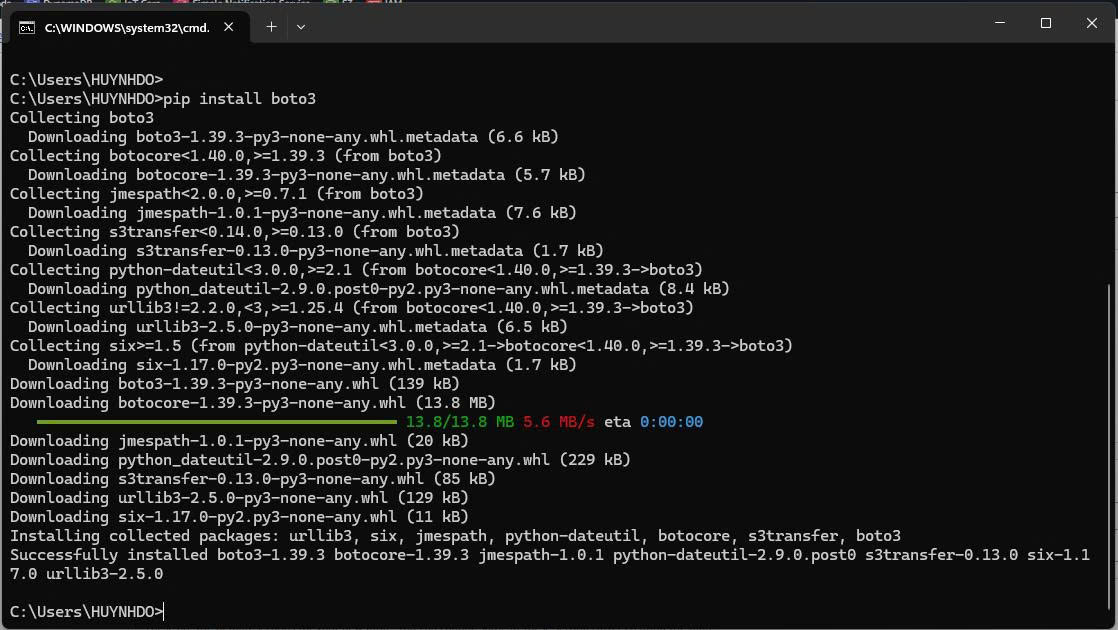
- Install the boto3 Library
- Open the terminal and install the boto3 library using the command: pip install boto3
- Create the file sensor_simulator.py on the emulator device
- Copy the code snippet below into the newly created py file:
import paho.mqtt.client as mqtt
import json
import time
import random
from datetime import datetime, timezone

# Cấu hình AWS IoT Core
iot_endpoint = "a2tzdij2wt8lg0-ats.iot.us-east-1.amazonaws.com"
port = 8883
topic = "inventory/sensor1/data"
cert_file = "C:/Users/HUYNHDO/Desktop/ThucTap/WorkShop/IoT/7fa53e8ed2f2f2f0937741775116a7061656dc2ff0b7b66c33085435a223a63e-certificate.pem.crt"
key_file = "C:/Users/HUYNHDO/Desktop/ThucTap/WorkShop/IoT/7fa53e8ed2f2f2f0937741775116a7061656dc2ff0b7b66c33085435a223a63e-private.pem.key"
ca_file = "C:/Users/HUYNHDO/Desktop/ThucTap/WorkShop/IoT/AmazonRootCA1.pem"

def on_connect(client, userdata, flags, rc, properties=None):
    """Callback khi kết nối với broker MQTT."""
    if rc == 0:
        print("Kết nối thành công với AWS IoT Core")
        client.subscribe(topic, qos=1)
    else:
        print(f"Kết nối thất bại với mã lỗi {rc}")

def on_publish(client, userdata, mid):
    """Callback khi tin nhắn được gửi thành công."""
    print(f"Tin nhắn {mid} được gửi thành công")

def on_disconnect(client, userdata, rc):
    """Callback khi mất kết nối."""
    print(f"Mất kết nối với mã lỗi {rc}")

def generate_inventory_data():
    """Tạo dữ liệu mẫu cho hàng tồn kho."""
    return {
        "product_id": f"PROD-{random.randint(1, 100)}",
        "quantity": random.randint(0, 30),  # Tạo số lượng thấp để kiểm tra cảnh báo
        "warehouse_id": "WH1",
        "timestamp": datetime.now(timezone.utc).isoformat()
    }

# Khởi tạo client MQTT
client = mqtt.Client(client_id="SensorSimulator", protocol=mqtt.MQTTv5)
client.tls_set(ca_file, cert_file, key_file)
client.on_connect = on_connect
client.on_publish = on_publish
client.on_disconnect = on_disconnect

# Kết nối đến AWS IoT Core
try:
    client.connect(iot_endpoint, port, keepalive=120)  # Tăng keepalive để ổn định kết nối
except Exception as e:
    print(f"Kết nối thất bại: {e}")
    exit(1)

# Bắt đầu vòng lặp để xử lý kết nối và tin nhắn
client.loop_start()

# Vòng lặp xuất bản dữ liệu
try:
    while True:
        data = generate_inventory_data()
        payload = json.dumps(data)
        result = client.publish(topic, payload, qos=1)
        if result.rc == mqtt.MQTT_ERR_SUCCESS:
            print(f"Published: {payload}")
        else:
            print(f"Failed to publish: {result.rc}")
        time.sleep(60)  # Gửi dữ liệu mỗi 60 giây
except KeyboardInterrupt:
    print("Dừng script")
    client.loop_stop()
    client.disconnect()
- Change the paths to the files
- cert_file
- key_file
- ca_file
to the files downloaded after creating AWS IoT Core.